
To photograph: it is to put on the same line of sight the head, the eye and the heart.”
– Henri Cartier-Bresson
This post is the second part of the “Capturing black-and-white images” topic. The topic is part of my series “Learning black-and-white photography”. If you missed the first post you can read it here.
The series will include posts and videos that can be easily located by using the tag “learning-black-and-white” either in the search box above, or by directly clicking on the tag name at the bottom of this post.
As stated in the first post, the goal of this topic is to provide some advice in order to start shooting images with the idea of converting them to black-and-white.
I broke down the topic in three different posts that correspond to the three aspects that I recommend to keep in mind when shooting black-and-white image:
- Understand exposure (again, if you missed this post you can read it here)
- Using filters to improve image quality, and
- Shooting RAW images.
In this second post I will cover the use of filters. So, let’s get started.
Using filters to improve image quality.

In film photography the use of in-camera color filters for black-and-white photography was very common. It sounds a little bit silly, color filters for black-and-white? but it’s right, using a color filter on top of the lens modify the translation of the color to the black-and-white film into different tones of gray. Basically, what a color filter does is to let pass light waves of its own color and block the ones of the opposite color (a.k.a. complementary color, see figure 1), in this way the colors in the image that are the same as the filter appear brighter, and the complementary colors appear darker.

In digital photography it really doesn’t make sense to use in-camera color filters, the reason is simple, as I stated in one of the previous posts, in digital photography the best approach to create black-and-white images in order to take full advantage of the available technology, is basically to shoot in color and then convert to black-and-white. So, from that perspective instead of deciding what color filter I need to use when shooting, in digital photography we defer that decision to post-processing, so in post-processing you have plenty of tools in order to apply exactly the same color filter theory explained above, but making use of software such as Lightroom, Photoshop or other add-ons. We’ll talk extensively about it in the post-processing part of this series. Figure 2 illustrates how the application of different filters modifies the way colors render into different tones of gray depending on the filter used.
Now, if it doesn’t make sense to use in-camera color filters in digital black-and-white photography, does it still make sense to use any other type of in-camera filter? the answer is yes. There are some in-camera filters whose effect is difficult to reproduce in post-processing, that definitely will help you capturing better quality images. Let’s take a look to these filters.
Circular polarizing filters. Circular polarizing filters will help you to reduce reflections from all kind of reflecting surfaces. Another application of these filters is to turn the sky blue and get details on clouds, especially when you’re shooting with plenty of light such as a sunny day when the sun is totally set, which is not the case for many landscape photographers that prefer the so-called ¨golden hours” to shoot, however in black-and-white photography shooting outside with plenty of light can create interesting, contrasting images as we’ll see later in this series.
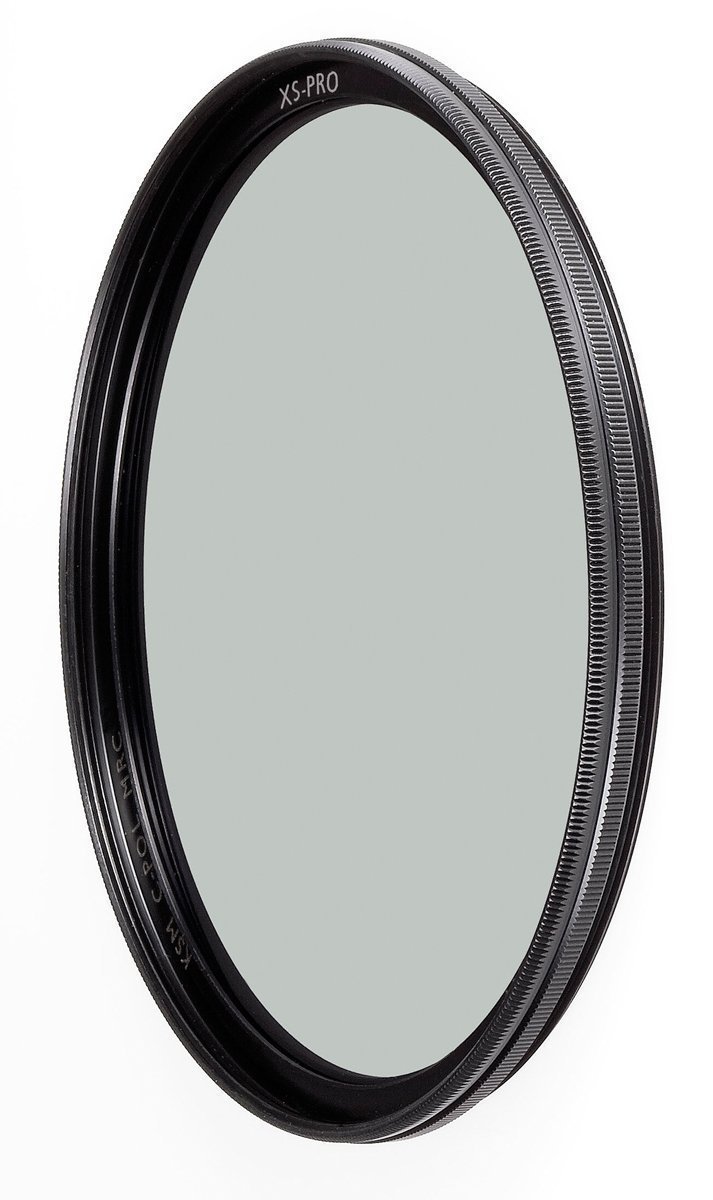
Using this filter requires a little bit of understanding of how it works. You can turn the outside of the filter in order to adjust how much polarization you need (see figure 3), my recommendation is to use just the minimum necessary to boost the image a little bit — adding contrast and getting details on the highlights — otherwise the image will look unnatural.
Now, If you’re using the filter to boost the sky, one more recommendation is to use this filter only when you are shooting outside in sunny days and the angle from the sun position to your camera is between 90 degrees and lets say 45 degrees, otherwise using this filter will do nothing but just making your light measuring more complicated given it blocks light (between 0.75 and 2 stops).

Last but not least, if you’re using the filter to eliminate reflections, you have to make sure the position of your camera to the subject is, again between 90 degrees and 45 degrees otherwise you won’t be able to get any effect.
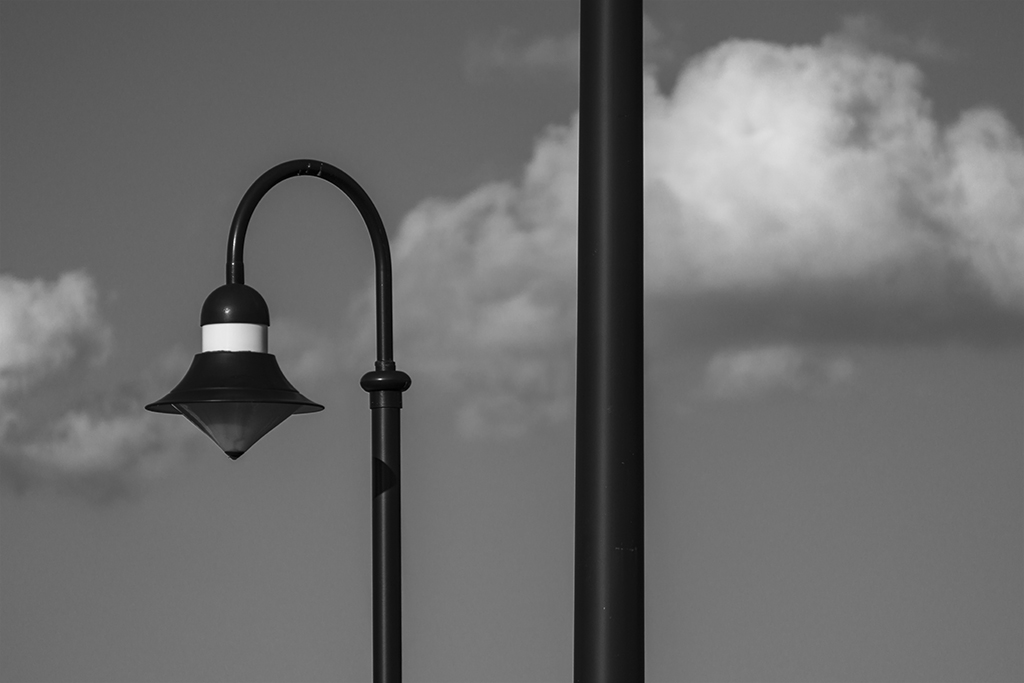
Take a look to figures 4 and 5. In the image in figure 4 I didn’t use any filter, it’s just the lens without any filter on top, whereas in figure 5 I used a circular polarizing filter that turned the sky and clouds much more dramatic.
Gradient neutral density filters. Gradient neutral density filters (a.k.a. GND, or simply grads) are very useful tools to be used when you’re trying to capture scenes with a very high dynamic range, which in black-and-white photography is a very common practice. Certainly the effect of these filters can relatively easy be created in post-processing. However, if you get the right exposure in-camera, you’ll have more latitude in post-processing in order to manipulate the image as you need to, according to your vision.
A grad then, is an optical filter that has a variable light transition. Typically half the filter is dark, transitioning either abruptly, or gradually into the other half which is clear. Now, the strength of the filter is measured in light stops — typically lenses come in either 1 stop, 2 stops or 3 stops strengths — and they usually come in two different “flavors” regarding transitioning: gradual or abrupt. Different manufacturers use different nomenclature for light strength and transitioning but just keep in mind the light stops and type of transitioning you need and check it in the filter specifications.

Finally, a filter like this require a couple of artifacts to be used in the field. The filter is usually attached to the front of the lens via an adapter ring and a rotating filter holder (see figure 6), so you have to make sure you get the right adapter ringers for the lenses you’ll be using — Many photographers just hold the filter in front of the lens and shoot, so for testing purposes I’ve done that, but if you are planning a portfolio shot, you may want to attach it correctly to the lens.
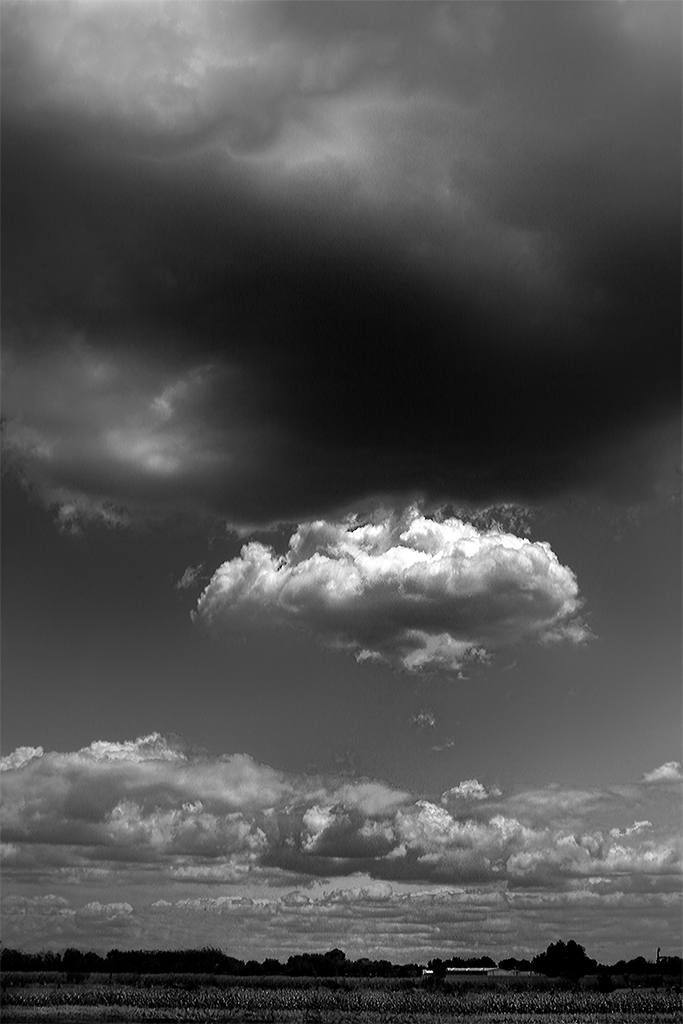
Let’s take a look to figures 7 and 8. The image in figure 7 is a landscape taken without using the filter, as you can see, there is almost no detail on the top of the cloud in the middle, also the shadows in the bottom are pretty dark, some of the trees have been reduced to silhouettes.
Now, look at the image in figure 8, details on the highlights of the central cloud have been restored, the shadows on the bottom are now less dark, so you can appreciate the landscape on the ground too, this is the effect of the filter. Probably what you’re thinking now is, but I can do the same in post-processing, certainly you can, however as I stated previously, doing it in-camera will give you more latitude to play with highlights and shadows. For example, if I hadn’t use the grad filter, probably I wouldn’t be able to recover any details on the highlights on the top of the central cloud, simply because they are not there in the first image (figure 7) even with the latitude provided for a RAW file — I shoot RAW, we’ll talk extensively about why shooting RAW in the next post of this series.

A variant of the gradient neutral density filters are the neutral density filters (a.k.a. ND filters) that basically have the same light stops all over the filter (no gradient). These types of filter are used in long-exposure photography, so when we cover this topic in this series I’ll go deeper on when and how to use it.
In the next post, I’ll start discussing why it’s so important to shoot RAW. So, keep in touch.
I do appreciate your comments and suggestions. If you are interested in more information regarding the making of my images, as well as general information about black-and-white photography, please subscribe to my blog to receive automatic notifications every time I publish a new post.
Website – http://www.enrique-pelaez.com/
Facebook Page – https://www.facebook.com/EnriquePelaezPhotography
Google Plus – https://plus.google.com/u/0/+EnriquePelaez
